Batch Color Grading: Match Your Whole Catalog to One Look in 2026
A preset applies the same adjustment to every photo — which is why your set still doesn’t match. Learn how reference-based AI grading unifies a whole catalog.
Munib Ali Laghari
Founder & Lead Developer
Quick answer
How do you match colors across multiple photos?
Don’t apply the same preset to every photo — identical adjustments preserve the differences you’re trying to erase. Instead, pick one photo as a reference and match every other image to it: AI measures how each photo differs from the reference and builds a custom adjustment per image, so all of them land on the same look. EnhanceCraft grades 25 to 500 images against one reference in a single job.
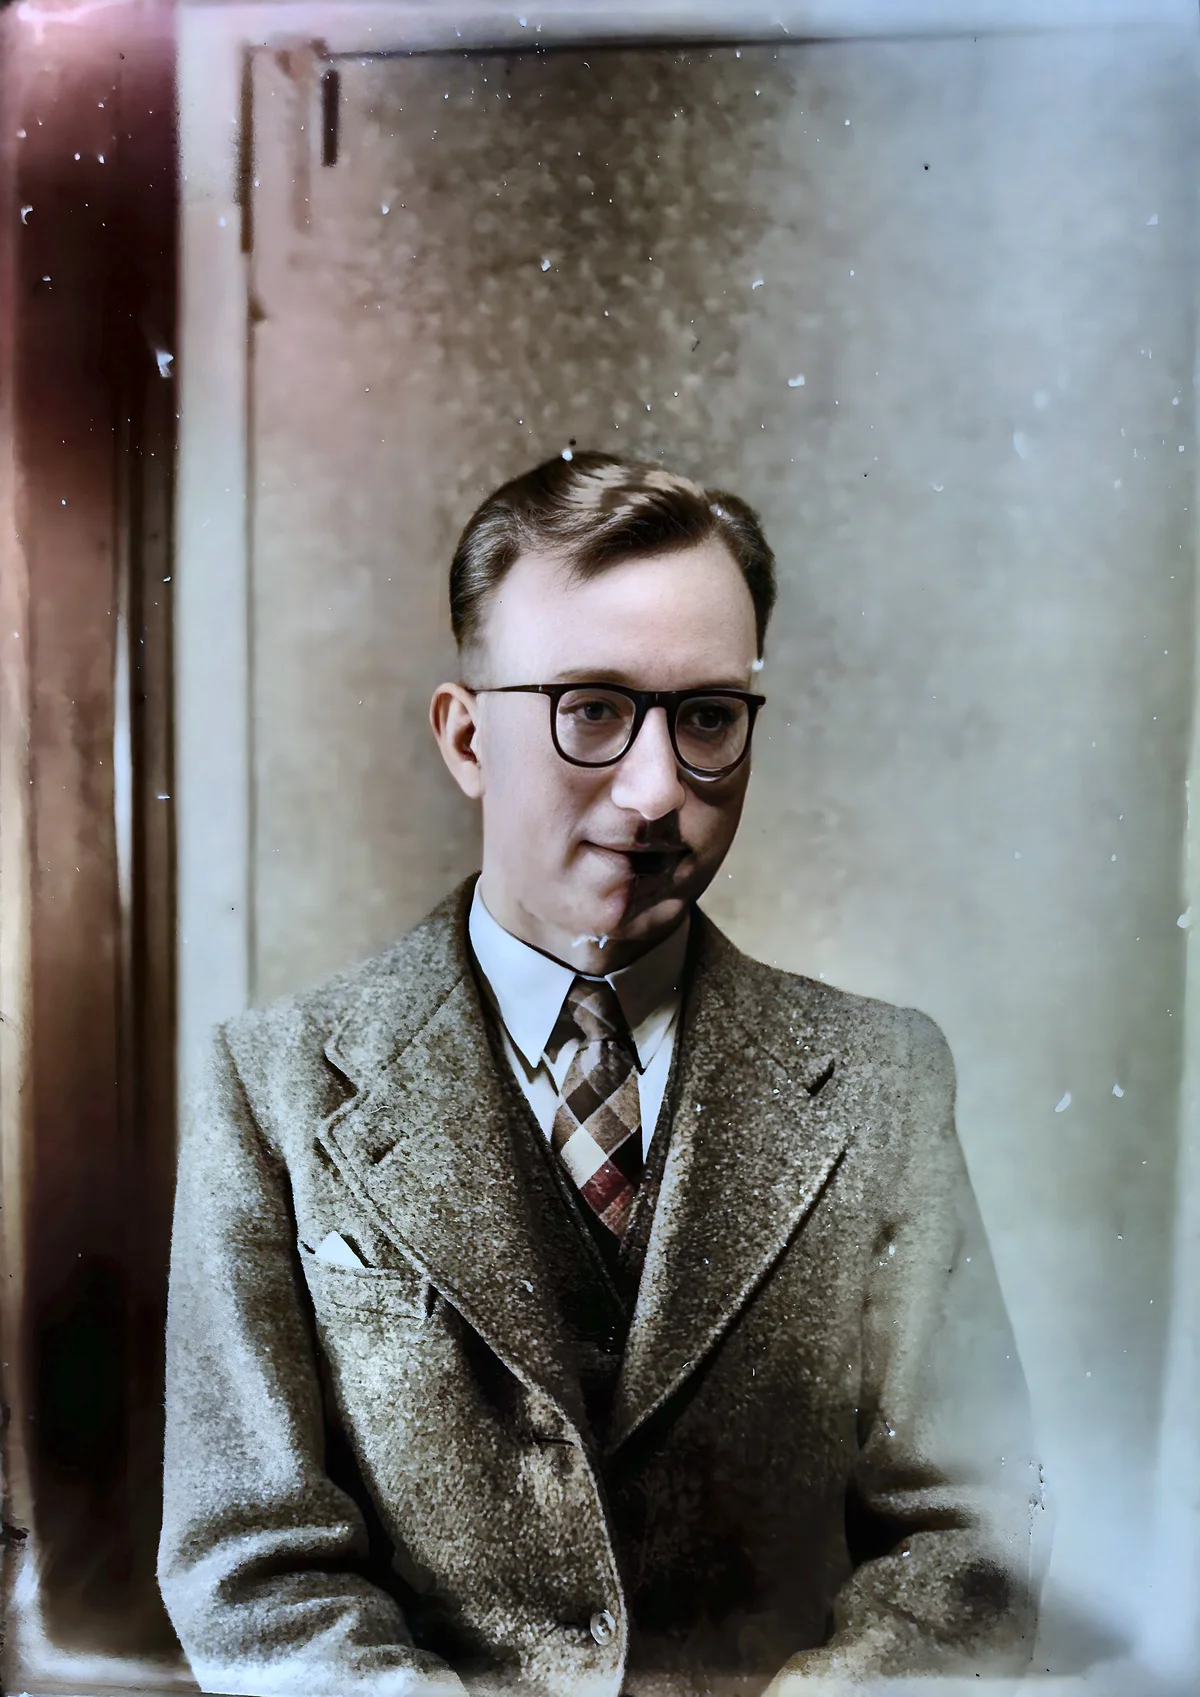
Before

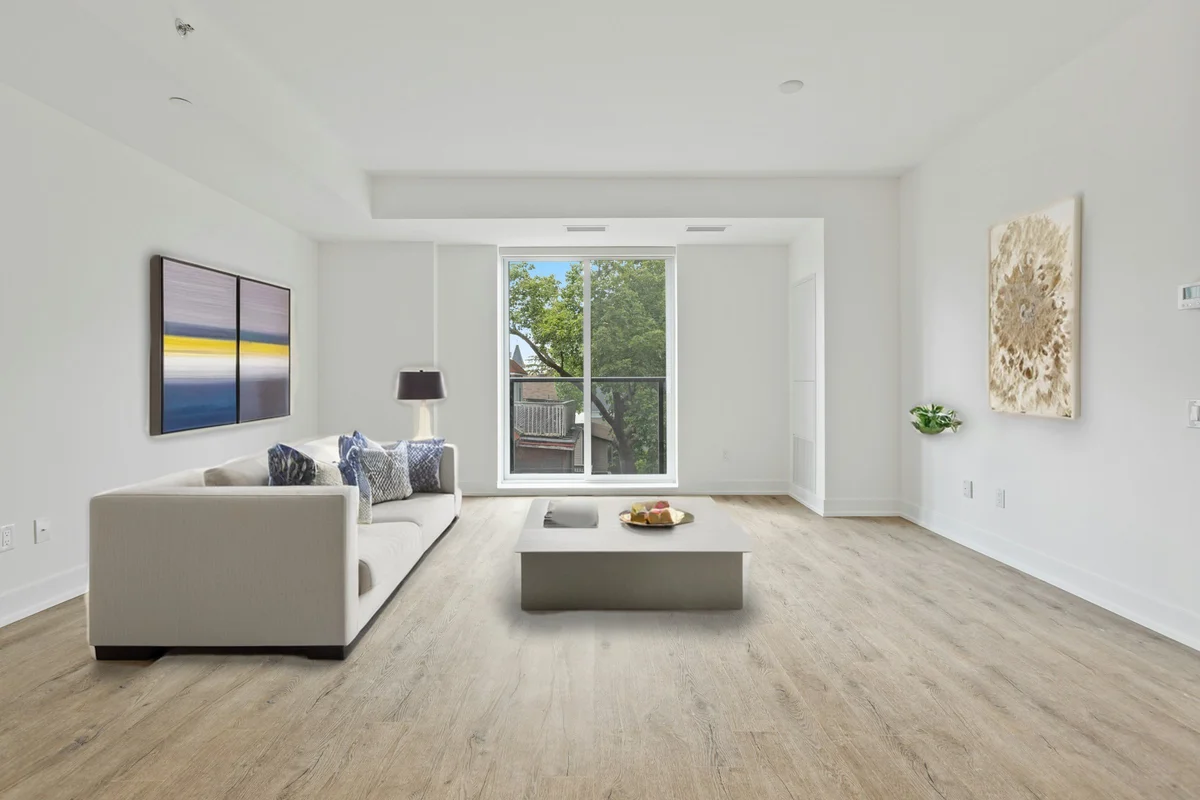
After

More examples like this: browse before & after results across every tool.
The catalog was shot over three weeks. Some frames caught morning light, some ran under the office fluorescents, one afternoon was overcast. Every photo looks fine on its own. Lined up in a grid on the category page, the set looks like four different stores.
So you batch-edited it. You graded your best frame, copied the settings, synced them to all 240 images — and the grid still doesn't match. That isn't a preset you chose badly. That's what presets do.
This guide covers why identical adjustments can't unify a drifting set, the difference between color correction and color grading (and why the order matters), how reference-based matching inverts the problem, how to grade a batch of 25–500 images in one job, and the honest limits worth knowing before you run a catalog through it.
Why Your "Batch Edited" Catalog Still Doesn't Match
Because a preset applies the same adjustment to every photo. Your photos didn't start the same — they drifted apart under different light. Adding identical warmth to a frame that's already warm and a frame that's cold moves both, but leaves the gap between them exactly where it was. A preset preserves drift.
Think about what "sync settings to all" actually does: +8 warmth, +5 contrast, −3 highlights, applied uniformly. If one frame was shot in daylight and the next under tungsten, they start hundreds of kelvin apart. Push both by the same amount and they're still hundreds of kelvin apart at the end — just warmer. The set moves together without ever converging. That's the trap: a preset is a *translation*, not a *destination*. It describes a journey, not a place to arrive.
Which points straight at the fix. Stop applying the same operation to every photo. Instead, apply whatever operation each photo individually needs to arrive at the same place. Different adjustment per image; one shared target. That single inversion is the whole idea behind reference-based color matching, and it's why it succeeds on exactly the mixed-lighting sets where presets fail.
Color Correction vs Color Grading (and Why the Order Matters)
These get used interchangeably and they're not the same job. Correction makes color *accurate* — neutral whites, no cast, true to what was in front of the lens. Grading makes color *intentional* — a deliberate look, applied consistently. A drifting catalog usually needs both, and the order matters: correct so every frame starts from truth, then grade so every frame lands on the same look.
| Color correction | Color grading | |
|---|---|---|
| **Goal** | Accurate color | A consistent, intentional look |
| **The question it answers** | "Is this the real color?" | "Does this match the look?" |
| **Typical fix** | Neutralize a cast, fix white balance | Apply a reference tone across the set |
| **Where batches break** | Every shoot needs a *different* correction | One look, applied to *all* |
Here's the part that saves a step: for sets that are reasonably similar to begin with, reference-based matching does both at once. Because it remaps each color channel toward the reference independently, a stubborn orange cast from indoor light gets pulled out in the same pass that imposes the look. You don't always need a separate correction stage — you need a reference that's already correct.
How Reference-Based Color Matching Works
Instead of handing the tool a fixed recipe, you hand it a destination: one reference image carrying the tone you want. For each photo, the AI measures how that photo's own distribution of light, dark, and color differs from the reference, then builds a remap specific to that image. Every photo gets a different adjustment. Every photo lands on the same look.
Concretely: the tool reads the reference's tonal distribution in each color channel, then reshapes each target image's distribution to match it. Because the mapping is computed per image, the cold tungsten frame receives a much larger correction than the daylight frame that was already close — automatically, without you deciding which is which. The destination is shared; the route is not. A strength control then blends the result back toward the original, so you choose how far down that route each image travels.
One thing that surprises people: the reference's *content* never transfers. Only its color and contrast do. Your reference can be a completely different subject — the tool isn't copying objects, it's copying tonality. That's the reference-based grading the AI image toolkit runs, and it's what makes a single frame able to define a look for an entire catalog.
How to Color Grade a Whole Batch (4 Steps)
Grading a set takes one job: choose the look, upload the batch, set how far to push it, download. The free AI color grading tool handles 25 to 500 images in a single run.
- 1.Pick your reference. One well-exposed frame carrying the tone you want. The subject doesn't matter — only its color and contrast get transferred.
- 2.Upload the set. Bulk mode takes 25–500 images in one job, so a full catalog or event gallery goes through in a single pass.
- 3.Set the match strength. Low (0.3–0.5) for a subtle unify that keeps each frame's character; high (0.7–1.0) for a full, committed style match. Start low and climb.
- 4.Download the matched set. Every image now shares one tone — the grid reads as a single shoot.
Color grading costs 1 credit per image, and a free account includes 25 credits to start, then 10 every month, no card required. One practical note: because grading needs a reference image *plus* your targets, it runs on credits rather than the anonymous daily quota — so unlike single-image tools, you'll want a free account before you start.
Choosing a Reference Image (The Decision That Makes or Breaks the Batch)
The reference is the grade. Everything after it is mechanics. Spend your time here: pick a well-exposed frame whose tone you'd be happy to see repeated across every image in the set, because that is precisely what's about to happen.
- ●Pull the reference from the set itself when you can. Your own best frame already shares the subject, lighting direction, and composition of everything else in the batch, so the match lands predictably.
- ●Well-exposed beats interesting. Blown highlights or crushed blacks in the reference become the target every other image gets dragged toward. A slightly boring, correctly exposed frame is a far better reference than a dramatic one with clipped corners.
- ●Mind the tonal balance, not the subject. The reference's content never transfers — but its balance of light to dark is exactly what's being matched. A reference that's mostly bright sky will pull a set of dim interiors brighter than you intended. Pick a reference whose overall light-to-dark balance resembles the images you're grading.
- ●Save the winner. This is the part teams miss. Once a reference produces the look you want, it stops being a file and becomes a brand asset. Reuse it on the next shoot and next quarter's photos match this quarter's — consistency across *time*, not just within one batch.
Setting Match Strength: Subtle Correction or Full Style Match
Strength decides how far each photo travels toward the reference. It's a blend: at low values the image keeps most of its own character and just leans toward the target; at high values it commits to the reference's tonality almost completely. Two settings cover nearly every real job.
- ●0.3–0.5 — Unify. Your set is basically right and merely drifting. This closes the gap without flattening the individuality of each frame. This is the correct setting for most catalogs.
- ●0.7–1.0 — Transform. You want the reference's *look*, not just agreement between frames. This is the setting for a signature style or a strong brand palette.
The workflow tip worth more than either number: test on three frames before you commit 400. Pick the brightest image in the set, the darkest, and the most typical, and grade just those. If the two extremes hold up, everything in the middle will. If the extremes break, you've learned it in three images instead of four hundred.
Where Batch Grading Belongs in Your Workflow
Grade after your images are clean and before you export — and keep one rule in mind that most guides skip.
- ●Keep the reference at the same stage as the targets. Because the match compares tonal distributions, the two have to be comparable. Grading background-removed cut-outs against a reference that still has its background compares two different distributions, and the result drifts in ways that look inexplicable. Choose your reference from the same point in the pipeline as the images you're grading.
- ●Clean before you grade. Haze and noise distort the very distribution the match reads. Dehaze a murky set first, or you'll bake the veil into the look and then propagate it across the catalog.
- ●Chain it into one job. Operations run in sequence within a single batch job, so grading can ride along with upscaling and export instead of becoming its own pass. The batch processing guide covers how to order a chain, and the upscaling guide covers where enlargement fits.
- ●E-commerce catalogs. Consistency is the whole game across a category page. Grade the set to one reference, then run the marketplace prep — the supplier-photo-to-Amazon pipeline and the free product photo editor handle the export side, and apparel sets can pair this with a ghost mannequin pass.
When Batch Color Grading Won't Help
Matching redistributes the tones that are already in your images. It can't invent what isn't there, and it isn't a substitute for accuracy. Four cases to know:
- ●Wildly mixed batches. The match compares whole-image tonal distributions, so a batch that mixes bright white-background packshots with dark lifestyle scenes can't sensibly share one reference. Split the set into groups and grade each group to its own reference.
- ●Blown highlights or crushed blacks. Matching remaps tones that exist. Where a frame is clipped to pure white, there is nothing left to remap — that detail is gone, and no reference brings it back.
- ●When you need accuracy, not consistency. For true-to-life color on fabric, paint, or cosmetics, a matched look is still a *look* — it's not a colorimetric guarantee, and getting the shade wrong on a product page drives returns. Shoot a color reference in-frame and correct to it.
- ●Single images. Grading earns its keep across a set. On one photo you're just applying a tone, and other adjustments will move the needle more.
From Mixed to Matched
A catalog that looks like one cohesive shoot reads as a more credible brand than the same products photographed just as well but drifting in tone — and buyers register that in the grid, before they read a single word. The gap between the two isn't better photography. It's usually just the difference between applying the same adjustment everywhere and aiming every photo at the same destination.
Try the free AI color grading tool — a free account includes 25 credits to start, then 10 every month, with no card required, and bulk mode takes 25 to 500 images in one job. Grade the three worst-matched frames in your catalog first; if those land, the rest of the set will follow.
Found this helpful?
Share it with your network
Ready to try it yourself?
25 free credits to start, then 10 every month. No credit card. Process your first image in under 15 seconds.
Try Color Grading freeMunib Ali Laghari
Founder & Lead Developer · EnhanceCraft
Munib Ali Laghari is the founder and lead developer of EnhanceCraft, an AI image toolkit. He writes about AI upscaling, photo restoration, and background removal. Connect on LinkedIn